Backing up your photos and files is essential to protect your valuable data from accidental loss, hardware failure, or other unexpected issues. Whether you are a casual user or someone who stores important documents and memories on your devices, having a reliable backup system can save you lots of stress. In this guide, we’ll explore practical ways to back up your photos and files, so you can keep them safe and accessible.
Why Backing Up Matters
Losing photos, work files, or personal documents can be devastating. Devices get lost, stolen, or damaged, and files can be accidentally deleted or corrupted. Regular backups ensure that you have copies of your important data that you can restore if anything goes wrong.
Backup Basics: What to Back Up
Before diving into backup methods, it’s helpful to know what you should back up:
– Photos and Videos: These precious memories are often irreplaceable.
– Documents: Work files, personal papers, taxes, and legal documents.
– Music and Media: Your personal collections of music or movies.
– Application Data and Settings: For some users, saving specific app data can save time.
– System Configurations: Especially if you want to recover your system quickly after a crash.
Focus on data that would be difficult or time-consuming to recreate.
Choosing Where to Back Up Your Data
There are several options for storing your backups. Each has pros and cons.
1. External Hard Drives
– Pros: Large storage capacity, one-time purchase, fast transfer speeds.
– Cons: Can fail or get damaged, easy to misplace, physical device required.
Using an external hard drive is a straightforward way to back up large amounts of data. Simply connect it to your computer and copy files over, or use backup software that automates the process.
2. Cloud Storage Services
– Pros: Accessible from anywhere, automatic syncing, no hardware needed.
– Cons: Often limited free space, ongoing subscription cost, requires internet.
Popular cloud storage options include Google Drive, Dropbox, OneDrive, and iCloud. These services automatically back up your files to remote servers, offering an extra layer of protection if your local devices fail.
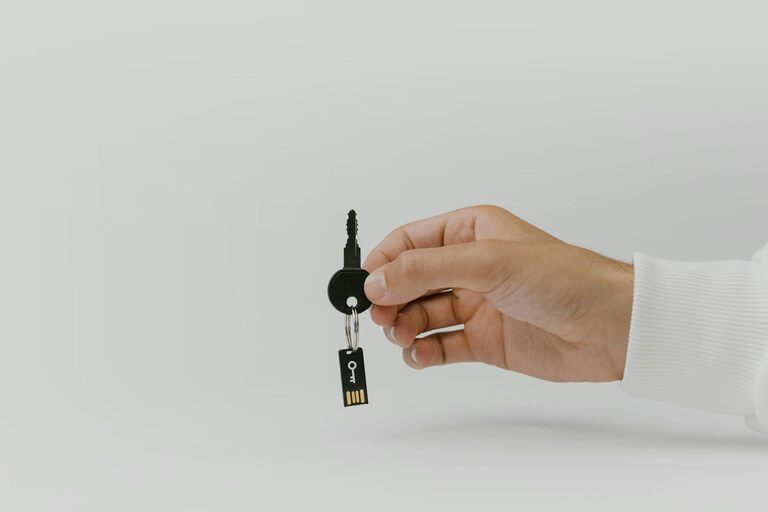
3. USB Flash Drives
– Pros: Portable, inexpensive, easy to use.
– Cons: Usually smaller capacity than hard drives, can be lost or damaged.
Good for quick backups and transferring files, but not ideal for long-term bulk storage.
4. Network Attached Storage (NAS)
– Pros: Centralized storage for multiple devices, often supports automated backups.
– Cons: More expensive, requires some technical knowledge.
A NAS device connects to your home network and stores backups accessible to all your devices. This is a popular choice for households or small offices.
How to Back Up Photos and Files: Step-by-Step
Here’s a simple plan to get started with backups:
Step 1: Organize Your Files
Before backing up, organize your files into folders by type or date. This makes it easier to find and restore them later.
Step 2: Select Your Backup Method(s)
Decide whether you’ll use one storage option or a combination. For example, many people use both an external drive and cloud storage for extra security.
Step 3: Create a Backup Schedule
Set a regular schedule for backups — weekly or monthly depending on how often your files change. Regular backups reduce the risk of losing recent work or photos.
Step 4: Use Backup Software or Tools
Most operating systems have built-in tools:
– Windows: File History or Backup and Restore.
– Mac: Time Machine.
Many cloud services offer automatic backup apps, which run in the background to keep your files updated.
Step 5: Verify Your Backups
After backing up, check that your files are accessible and not corrupted. Occasionally doing a restore test ensures your backups actually work when needed.
Tips for Safe Backup Practices
– Use Multiple Backup Methods: Don’t rely on a single backup. Combining local and cloud backups is safer.
– Keep Backups Secure: Protect backups with encryption or passwords to keep your data private.
– Update Backups Regularly: Make sure new photos and files are included as you create them.
– Label Physical Backups Clearly: For external drives or USBs, label them clearly with dates or content descriptions.
– Avoid Backing Up Unnecessary Files: Clean out duplicates or irrelevant data to save space.
What to Do in Case of Data Loss
If you lose files, resist the urge to immediately overwrite or install new software on your storage device as this can overwrite recoverable data. Instead, check your backups and restore files from the latest backup.
Conclusion
Backing up your photos and files doesn’t have to be complicated or time-consuming. By choosing the right storage options and following a regular backup routine, you can protect what matters most. Start today by selecting a method that fits your lifestyle, and rest easy knowing your digital memories and important files are safe.
—
Remember, the best backup plan is one that you stick to consistently. Make backing up a regular habit, and your future self will thank you!